GREEN CABINET SOURCE / VERIFIED PATH
Blog
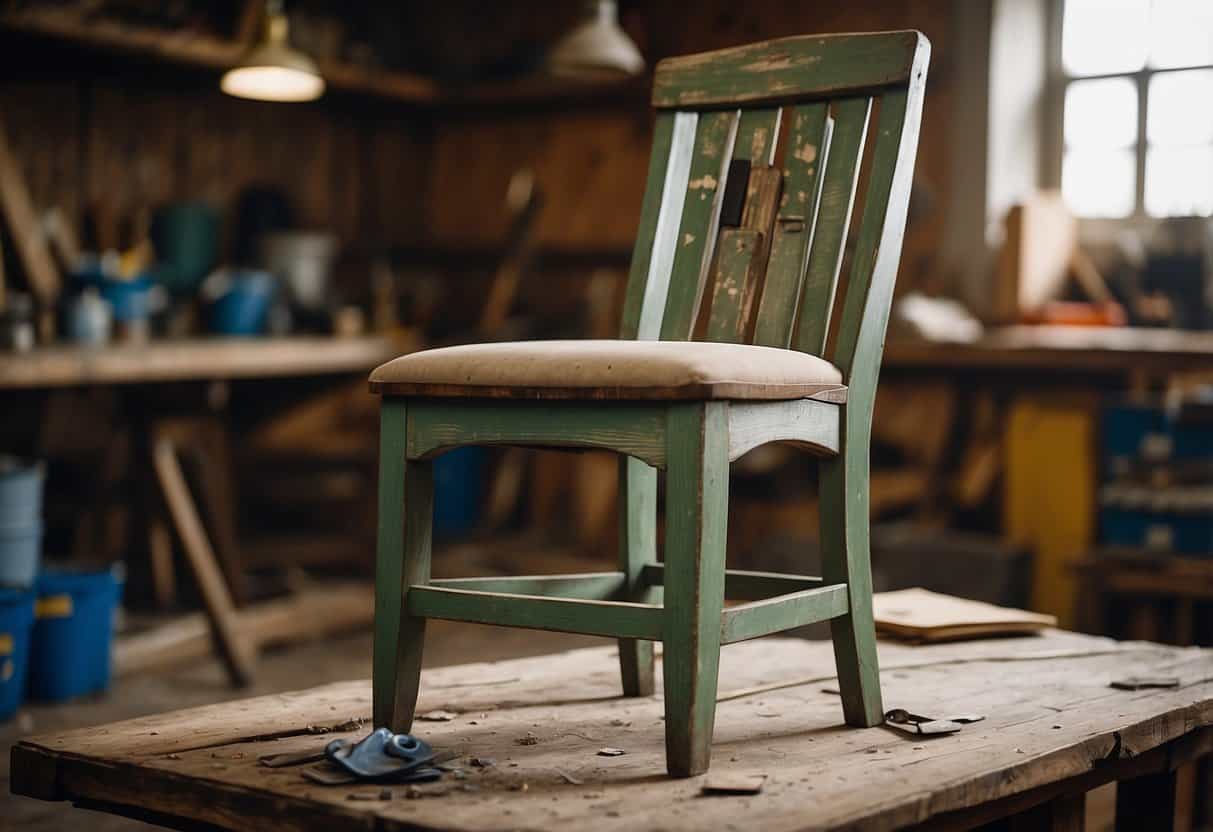
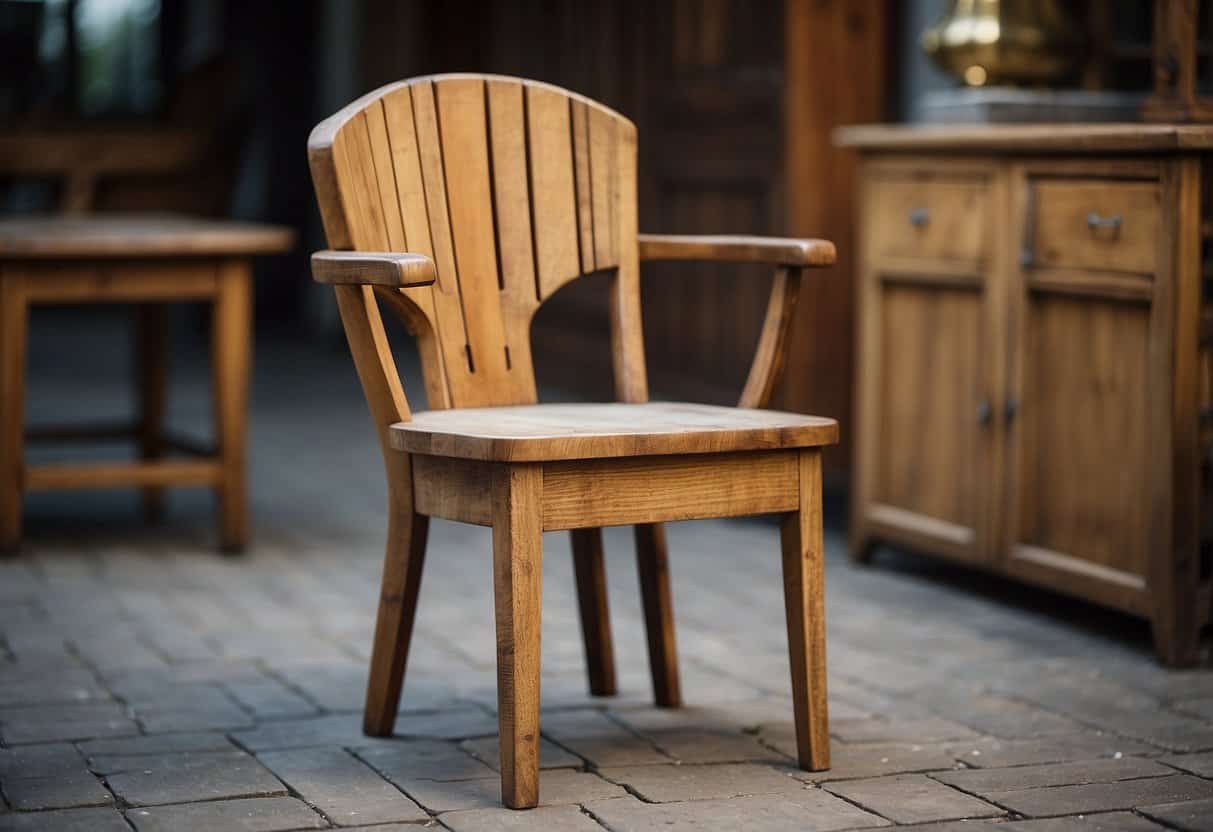
Recycled furniture restoration isn't just a trend; it's a smart, eco-friendly way to breathe new life into old pieces while saving money. Transforming outdated or worn furniture into stylish, functional items can reduce waste and give you unique home decor. Whether it's a vintage suitcase turned into a quirky medicine cabinet or a boring table
Recycled furniture restoration isn’t just a trend; it’s a smart, eco-friendly way to breathe new life into old pieces while saving money. Transforming outdated or worn furniture into stylish, functional items can reduce waste and give you unique home decor. Whether it’s a vintage suitcase turned into a quirky medicine cabinet or a boring table revamped with wheels, the possibilities are endless.
By upcycling, you aren’t just benefiting your wallet but also making a sustainable choice for the environment. Using recycled furniture can help lower the demand for new materials, reducing your carbon footprint. Plus, it’s a fun way to add character and creativity to your living space.
If the idea of turning trash into treasure excites you, let’s dive deeper into some inspiring and practical ways to get started with recycled furniture restoration.
Understanding Recycled Furniture Restoration
Recycled furniture restoration involves turning old items into beautiful, functional pieces while promoting sustainability. This practice helps reduce landfill waste and can often lead to unique and personalized furniture.
The Environmental Impact of Upcycling
Upcycling old furniture reduces the need for new materials, thus saving trees and lowering carbon emissions. By choosing to upcycle, you help keep items out of landfills, cutting down on waste.
Key benefits include:
- Conservation: Less demand for new wood preserves forests.
- Energy Savings: Manufacturing new furniture requires more energy.
- Reduced Waste: Upcycled items avoid the landfill.
Using recycled materials like reclaimed wood not only conserves resources but also adds character and history to your restored furniture.
Differences Between Repurposing and Refinishing
Repurposing involves changing the function of a piece. For instance, turning a wooden door into a table. This method requires creativity and can lead to one-of-a-kind items.
Refinishing, on the other hand, focuses on restoring the original beauty of the furniture. This means cleaning, repairing, and applying a new finish. It’s typically used to rejuvenate antique pieces without altering their original use.
When to Use Each:
- Repurposing: When the piece is no longer functional in its current form.
- Refinishing: When you want to maintain the item’s original design and value.
Both techniques are valuable in recycled furniture restoration, offering different ways to breathe new life into old pieces while being environmentally friendly.
Getting Started with DIY Furniture Restoration
The start of any DIY furniture restoration project involves having the right tools, selecting the perfect piece to restore, and planning out your steps. Following these guidelines ensures a smooth and successful restoration process.
Tools and Materials You’ll Need
To restore furniture, gather essential tools and materials:
- Sandpaper: Different grits for smoothing surfaces.
- Paintbrushes: For applying paint and finishes.
- Screwdrivers: To remove and reattach hardware.
- Putty knife: For scraping old paint or removing debris.
- Cleaning supplies: Mild detergent, rags, and brushes for cleaning the piece before starting.
Materials often include:
- Paint: Choose colors that suit your style.
- Finish: Protects the wood and enhances its appearance.
- Wood filler: Repairs minor damages.
- Painter’s tape: Helps with clean lines and areas you don’t want to paint.
Having everything ready makes the process smoother and more enjoyable.
Selecting the Right Piece of Furniture
When choosing furniture to restore, consider:
- Condition: Make sure the piece doesn’t have significant damage, like deep cracks or extensive rot. Minor scratches or surface wear are fixable.
- Material: Identify if the furniture is solid wood, veneer, or laminate. Solid wood is the easiest to work with, especially for beginners.
- Size: Start with smaller pieces like chairs or side tables if you’re new to DIY projects.
Look for unique shapes or styles that, once restored, will become a remarkable part of your decor.
Planning Your DIY Project
Planning is crucial for a successful restoration:
- Assess the Piece: Thoroughly inspect for structural damage, loose joints, or missing hardware.
- Cleaning: Before doing anything else, clean the furniture. Use a mild detergent and water to remove dirt and grime.
- Repair and Sanding: Fix any scratches or small cracks with wood filler. Sand the surfaces to prepare them for paint or stain.
- Choosing Paint or Finish: Decide on the look you want. Paint can provide a pop of color, while a stain or finish can highlight natural wood.
- Gathering Accessories: If you’re updating hardware, select new knobs, pulls, or other accessories that fit your vision.
Document your steps and timeframe to stay organized, ensuring you do not miss any part of your DIY project.
Step-by-Step Restoration Guide

Reviving your old furniture can be both fun and rewarding. To help you through this journey, follow these steps closely for a successful restoration.
Cleaning and Preparing Your Furniture
The first thing you need to do is clean your furniture. Remove all dust, dirt, and grime using a soft cloth and mild soap. Avoid using harsh chemicals as they may damage the surface.
Once cleaned, inspect the furniture for any imperfections like scratches or dents. Use wood filler to fix small holes and cracks. Sanding the surface with fine-grit sandpaper will help smooth it out and ready it for the next steps.
Protective gear like gloves and masks are a must to ensure your safety during this process.
Painting, Staining, and Applying Finishes
After preparation, decide on whether to paint or stain your furniture. For a modern look, consider using chalk paint, which adheres well and requires minimal prep. Apply one or two coats, allowing each coat to dry fully before adding the next.
If you prefer a natural wood finish, go for staining. Apply the stain evenly using a brush or cloth and wipe off the excess. Allow it to dry completely.
For added protection, finish with a clear coat like polyurethane. This will protect your furniture from daily wear and tear. Use a brush to apply thin layers, sanding lightly between each coat for a smooth finish.
Reupholstering and Adding Accessories
Reupholstering can give your furniture a fresh look. Remove the old fabric and padding carefully. Measure and cut new fabric, allowing extra material for tucking.
Staple the new fabric securely to the frame, ensuring there are no wrinkles or loose areas. Replace the padding if needed for extra comfort.
Enhance your piece with accessories like new hardware or decorative touches such as rope accents. These small changes can make a big impact and truly individualize your restored furniture.
By following these steps, you’ll transform your old furniture into beautiful, functional pieces. Enjoy the satisfaction of bringing new life to items that might otherwise end up in a landfill.
Where to Find and Share Your Creations
Finding old furniture to restore can be exciting and rewarding. Once you’ve transformed a piece, sharing your work with others can be just as fulfilling.
Thrifting and Obtaining Used Furniture
You can start by visiting local thrift stores, flea markets, and garage sales. These places often have unique, affordable pieces that are perfect for restoration. Online platforms like Craigslist and Facebook Marketplace also offer a wide selection of used furniture.
Estate sales are another excellent option. You might find high-quality items at reasonable prices. Just make sure to inspect the pieces for any major damage that could be too costly or difficult to repair.
Another tip is to keep an eye out for curbside freebies. People often leave unwanted furniture on the curb, free for the taking.
Showcasing Your Projects on Social Media
After restoring a piece, share your achievements on social media platforms like Instagram, Pinterest, and TikTok. Posting high-quality photos and videos helps attract attention. Highlight before-and-after pictures to showcase your hard work and the transformation process.
Use relevant hashtags to reach a broader audience interested in home decor and furniture restoration. Engage with your followers by responding to comments and messages. This interaction helps build a community around your work.
Consider starting a blog or YouTube channel to provide tutorials and detailed insights into your projects. This can establish you as an expert in the field.
Selling Your Restored Furniture
To sell your restored furniture, you can use online marketplaces such as Etsy, eBay, or local options like Facebook Marketplace. These platforms allow you to reach a wide audience without the need for a physical store.
Join local craft fairs or vintage markets to sell your pieces directly to customers. This gives potential buyers the opportunity to see and feel the quality of your work in person.
Branding is crucial. Create a memorable name and logo to distinguish your products. Good branding will make your pieces stand out in a crowded market. Be sure to price items fairly, considering both your costs and the value of your labor.
Frequently Asked Questions
When restoring recycled furniture, you need to consider various factors such as costs, finding reputable services, and DIY kits. Below are some common questions and answers to guide you through the process.
How can I find reputable furniture restoration services in my area?
Start by checking online directories and customer reviews. Websites like Yelp and Google Reviews can offer insights. You can also visit local thrift stores or Habitat ReStores for recommendations.
What are the typical costs associated with restoring recycled furniture?
Costs can vary widely based on the furniture’s condition and the materials needed. Basic jobs might cost just $50 to $100, while more complex restorations can run into hundreds of dollars. Always get a quote before committing.
What should I look for when reading reviews on recycled furniture restoration?
Focus on specific details like timeliness, quality of work, and customer service. Look for patterns in feedback, especially regarding any issues like durability and finish.
Which DIY restoration kits are recommended for beginners?
Beginners can start with kits from brands like Rust-Oleum and Minwax. These often include essentials like sandpaper, paint, and brushes, making the process easier for newcomers.
How do I determine if my old furniture is worth restoring?
Check the furniture’s construction and materials. Solid wood pieces are often worth restoring. If the furniture has sentimental value or is a unique vintage piece, consider restoring it.
What are the key differences between refurbishing and restoring furniture?
Refurbishing usually involves cosmetic updates like painting or reupholstering. Restoration focuses on returning the piece to its original condition, often requiring more detailed work like repairing structural damage.